

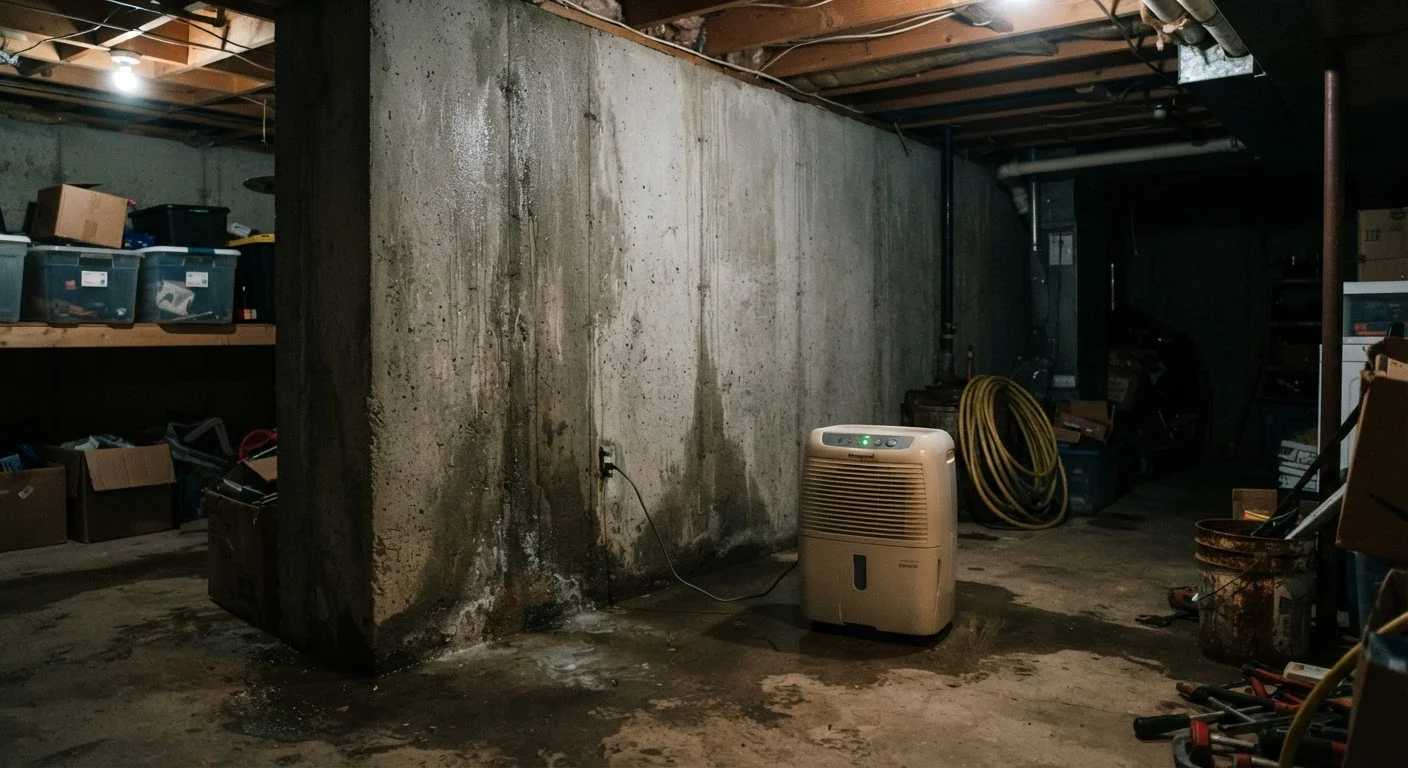
Understanding the Three Sources of Basement Moisture
Basement dampness is one of the most common homeowner complaints, and one of the most frequently misdiagnosed. Spending money on the wrong solution - say, applying interior sealant to a condensation problem - accomplishes little. The three root causes are distinct:
- Condensation: Warm, humid air contacts cool basement walls or pipes and releases moisture as liquid water. Common in summer months or in basements without climate control.
- Groundwater seepage: Water in the surrounding soil migrates through porous concrete or masonry under hydrostatic pressure. Often shows up as a damp haze across walls or floor edges, regardless of recent rainfall.
- Surface water intrusion: Rainwater or snowmelt flows toward the house due to poor grading, overwhelmed gutters, or inadequate drainage - and enters through cracks, window wells, or the wall-floor joint.
Each source leaves clues. Condensation typically appears in warm weather on cooler surfaces. Groundwater seepage is steady and often accompanied by white mineral deposits (efflorescence). Surface water intrusion usually follows rainfall events closely.
Use the Plastic Sheet Test to Diagnose Source
Tape a 12-inch square of plastic sheeting tightly to a damp basement wall, sealing all four edges with waterproof tape. Leave it for 24-48 hours. If moisture collects on the room-facing side, the problem is interior condensation. If it appears on the wall-facing side, groundwater is migrating through the wall.
What You'll Need Before You Start
What you will need
Hygrometer (humidity meter)
Measures indoor relative humidity to determine whether condensation is the primary moisture source.
Plastic sheeting and waterproof tape
Used for the diagnostic plastic sheet test to distinguish condensation from groundwater intrusion.
Dehumidifier
Reduces ambient humidity levels to prevent condensation and slow mold-favorable conditions.
Hydraulic cement or masonry crack filler
Seals minor non-structural cracks in basement walls or floors to limit water seepage.
Garden hose or level
Helps assess whether the ground around your foundation slopes toward or away from the house.
Gutter extensions / downspout extenders
Directs roof runoff further from the foundation to reduce hydrostatic pressure.
Step-by-Step: Diagnosing and Addressing the Problem
Identify which type of moisture you are dealing with
Before any repair, you need to know whether moisture is coming from inside the air (condensation), migrating through the wall from soil (groundwater seepage), or entering as surface water during rain (bulk water intrusion). Each source requires a different fix - treating the wrong one wastes time and money.
Perform the plastic sheet test described in the tip box above. Also note when dampness appears: after heavy rain points to bulk intrusion or surface water, while steady dampness on warm days suggests condensation.
Check and correct exterior grading and drainage
The ground immediately around your foundation should slope away from the house at a rate of at least 6 inches of drop over the first 10 feet, according to general building guidance. If soil has settled flat or toward the house, rainwater pools against the wall and eventually seeps through.
Add compacted fill soil to create a positive slope. Avoid organic material like mulch directly against the foundation - it retains moisture. Also inspect window wells for standing water and ensure they have gravel drainage at the base.
Inspect and clean gutters and downspouts
Clogged gutters overflow and deposit large volumes of water directly at the foundation. Clean gutters at least twice per year - more often if trees overhang the roofline. Confirm that downspouts discharge water at least 4-6 feet from the foundation. Use plastic extenders if needed to move discharge further away.
While inspecting, check that downspout seams are tight and that splash blocks direct water away from the house rather than back toward it.
Reduce interior humidity with ventilation and a dehumidifier
If condensation is the culprit, lowering the basement's relative humidity below 60% will significantly reduce moisture on walls and floors. A properly sized dehumidifier is the most direct tool. For guidelines on how ventilation supports moisture control in other parts of the home, see how airflow functions as a structural issue.
Also ensure basement windows and vents are functional. Avoid drying laundry in an unventilated basement, and check that any dryer vent exhausts fully to the exterior.
Seal minor cracks in walls and the floor slab
Hairline cracks in poured concrete are common and often cosmetic. They can be sealed with hydraulic cement (for active seepage) or polyurethane or epoxy injection kits designed for basement walls. Clean the crack thoroughly before applying any sealant. Follow the product instructions for cure time and conditions.
Do not attempt to seal wide, stair-step, or horizontal cracks yourself - these may indicate structural movement and require a licensed structural engineer's assessment.
Evaluate whether interior waterproofing systems are needed
When exterior grading corrections and surface drainage improvements do not resolve persistent water intrusion, an interior drainage system - such as a perimeter drain tile with a sump pump - may be warranted. This is not a DIY project for most homeowners: it involves cutting the concrete floor, installing drainage channels, and properly routing water to a sump pit.
If you are also considering finishing the space, moisture control must be resolved before any framing or insulation begins. See what a basement finishing project actually involves for a full overview of sequencing these decisions correctly.
When to Call a Professional Immediately
If you observe water actively entering through foundation cracks, bowing walls, or efflorescence (white mineral deposits) spreading across large wall sections, stop DIY repairs and contact a licensed waterproofing contractor or structural engineer. These signs can indicate serious foundation stress that worsens with delay. Unpermitted structural repairs may also violate local building codes.
Keeping Moisture Under Control Long-Term
Basement moisture control is not a one-time fix - it requires seasonal awareness and routine maintenance. Check gutters and downspouts before the wet season. Walk the perimeter of your foundation after heavy rain to see where water pools. Re-inspect grading every few years, as soil naturally settles.
A basement that stays dry is significantly easier - and less expensive - to eventually finish or use as living space. Addressing moisture early also protects structural components, preserves indoor air quality, and reduces the risk of mold establishing itself in your home. Consistent humidity monitoring costs very little compared to mold remediation or foundation repair.
Mold Can Develop Within 24-48 Hours
Standing water or persistently damp surfaces create ideal conditions for mold growth very quickly. If you suspect mold is already present - discoloration, musty odor, visible growth - consult a qualified mold remediation professional rather than disturbing the area yourself. Disturbing mold without proper containment can spread spores throughout your home.
The content on this site is for informational purposes only and is not a substitute for professional advice. Always consult a qualified professional for guidance specific to your situation.