

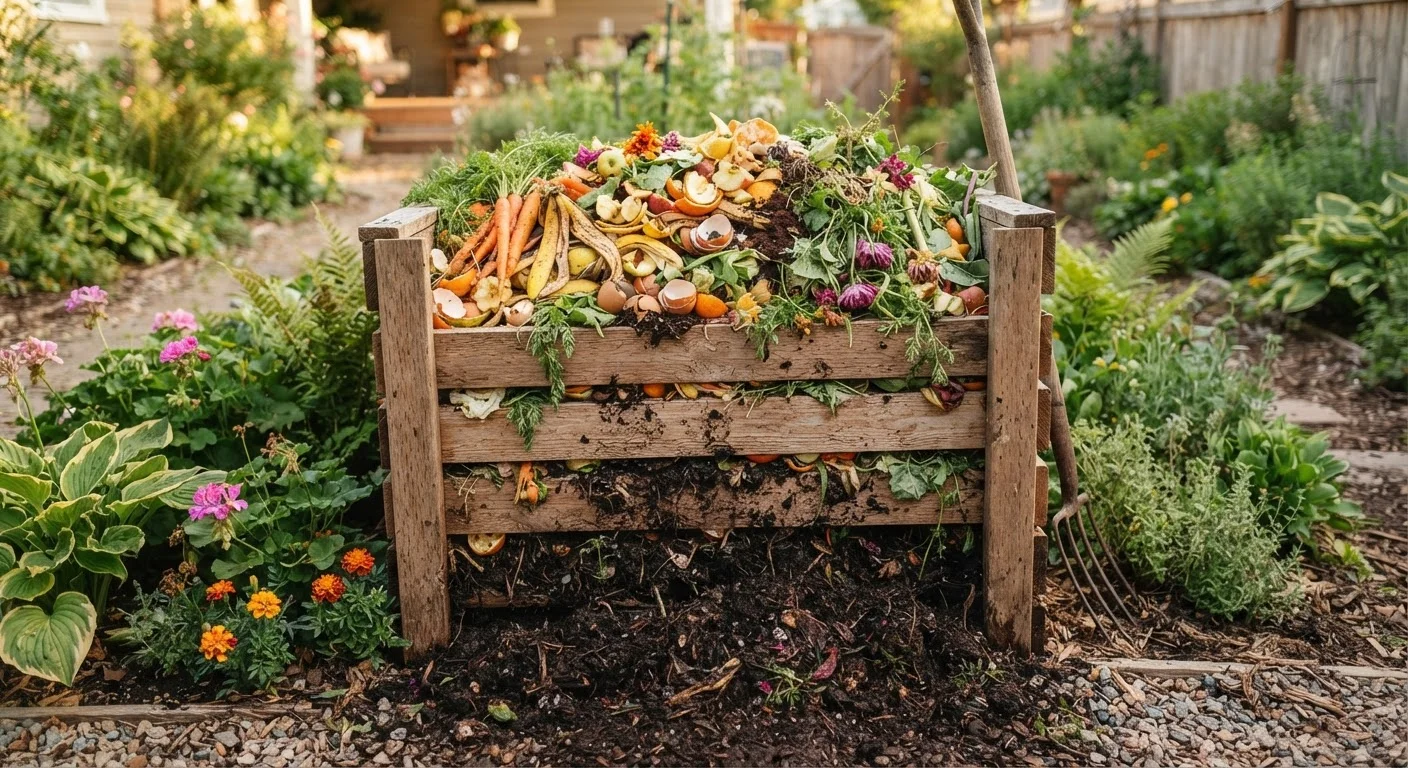
Why Composting Belongs in Every Home Garden
Finished compost does three things no synthetic fertilizer can fully replicate: it feeds the beneficial microbial community in your soil, it improves both drainage in clay soils and water retention in sandy soils, and it slowly releases a broad spectrum of nutrients over an entire growing season rather than in a single concentrated dose.
For anyone planning a food garden - whether you're starting your first vegetable garden or weighing raised beds versus in-ground planting - compost is the single most versatile soil amendment you can make at home.
Beyond plant health, composting diverts organic waste from landfills. The U.S. Environmental Protection Agency estimates that food and yard waste together make up a substantial portion of municipal solid waste, and home composting is one of the most direct ways a household can reduce that contribution.
What you will need
Getting Started: Setup, Materials, and Maintenance
Follow the steps below to set up your system, build your pile correctly, and bring your first batch of compost to maturity. Having the right tools on hand from the start makes the process much more manageable.
Compost bin or tumbler
Contains and organizes compost materials while retaining heat to accelerate decomposition.
Pitchfork or garden fork
Used to turn and aerate the compost pile, which speeds up breakdown and prevents odors.
Countertop scrap container
Collects daily kitchen scraps conveniently before transferring them to the outdoor bin.
Garden hose or watering can
Keeps the compost pile moist enough (like a wrung-out sponge) for microbial activity.
Compost thermometer
Measures internal pile temperature to confirm active decomposition is occurring.
Choose and set up your composting system
Select a location that is at least partially shaded, convenient to reach from the kitchen, and at least 10 feet from your home's foundation. A 3-foot by 3-foot footprint is the practical minimum for generating enough heat to break down materials efficiently.
You have three common setup options: an open pile, a DIY wooden bin made from pallets or lumber, or a purchased plastic bin or tumbler. Tumblers are tidier and resist pests, making them well-suited for smaller yards or suburban settings.
Understand and collect the right materials
Compost is built from two categories of ingredients. Greens are nitrogen-rich materials: vegetable and fruit scraps, coffee grounds, fresh grass clippings, and plant trimmings. Browns are carbon-rich materials: dry leaves, cardboard torn into small pieces, newspaper, straw, and wood chips.
A healthy pile aims for roughly three parts browns to one part greens by volume. Too many greens creates a slimy, smelly pile; too many browns slows decomposition noticeably.
Safe to compost: fruit and vegetable peels, eggshells, coffee grounds and paper filters, tea bags (remove staples), grass clippings, dry leaves, shredded paper, and cardboard.
Do not compost: meat, fish, bones, dairy products, oily foods, pet waste, diseased plants, or anything treated with persistent pesticides.
Layer and build your pile correctly
Start your pile with a 4-inch base layer of coarse browns such as wood chips or straw to encourage airflow from the bottom. Then alternate layers: a few inches of greens followed by a thicker layer of browns. Chop or shred materials when possible - smaller particles break down significantly faster.
Lightly dampen each layer as you add it. The pile should feel moist throughout, similar to a wrung-out sponge, but never waterlogged.
Turn and maintain the pile regularly
Use your pitchfork or aerator to turn the pile every one to two weeks. Turning moves cooler outer material into the hot center and reintroduces oxygen, both of which accelerate decomposition. An active pile can reach internal temperatures of 130-160°F, which also kills most weed seeds and pathogens.
Check moisture each time you turn. If the pile feels dry and decomposition has slowed, add water. If it smells like ammonia, add more browns and turn thoroughly.
Recognize and use finished compost
Finished compost looks dark brown, crumbles easily, smells earthy (like forest soil), and no longer resembles its original ingredients. You should not be able to identify specific scraps or leaves. This typically takes two to six months under normal home conditions.
To harvest, stop adding new material and let the pile rest for two to four weeks, then screen it through a half-inch mesh to separate any large uncomposted chunks - toss those back into your next pile.
Apply two to three inches of finished compost to garden beds and work it gently into the top several inches of soil before planting. It can also be used as a top-dressing around existing plants, or mixed into potting soil at about 25-30% by volume.
Small Spaces Can Compost Too
Apartment dwellers and those with limited outdoor space can use a compact worm bin (vermicomposting) indoors or on a balcony. Worm castings are among the most nutrient-dense soil amendments available and can be produced in a bin that fits under a kitchen sink. For more ideas on productive small-space gardening, see our guide on growing food in small spaces.
Troubleshooting Common Compost Problems
Even a well-tended pile occasionally runs into trouble. Here are the most common issues and their straightforward fixes:
- Pile smells bad (rotten or sulfurous): Too many greens, too much moisture, or insufficient airflow. Add a generous layer of browns, turn the pile thoroughly, and check drainage at the base.
- Pile isn't heating up: Too many browns, too dry, or the pile is too small. Add nitrogen-rich greens, moisten, and ensure the pile is at least 3 feet in each dimension.
- Pests are getting in: Likely caused by food scraps added without burying them, or by adding prohibited materials like meat or dairy. Bury fresh scraps in the center of the pile and consider switching to a sealed tumbler.
- Pile is matted and compacted: Grass clippings or wet leaves packing together. Break them up when adding, and mix with coarser browns.
Used consistently alongside the right mulch choices and seasonal prep routines, a home compost system becomes the foundation of a garden that gets measurably healthier each year - without expensive inputs or complicated techniques.
Avoid These Common Composting Mistakes
Never add meat, fish, bones, dairy, or pet waste to a standard home compost pile. These materials attract pests, create persistent odors, and can introduce harmful pathogens that a typical home pile may not reach temperatures high enough to eliminate. Stick to plant-based kitchen scraps and yard waste for safe, effective composting.
The content on this site is for informational purposes only and is not a substitute for professional advice. Always consult a qualified professional for guidance specific to your situation.