

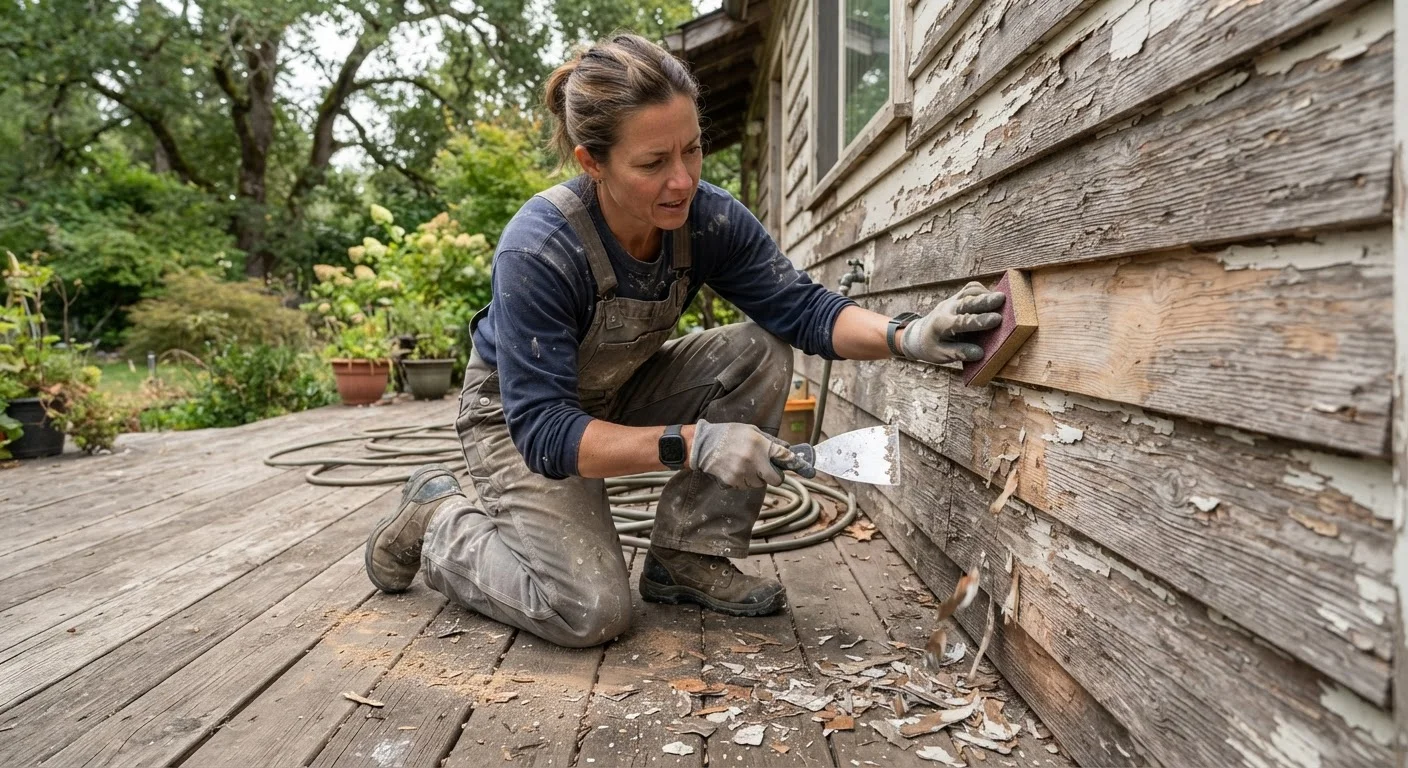
Why Prep Determines Paint Longevity
Most homeowners focus on choosing the right paint color or finish — and overlook the work that happens before the brush ever touches the siding. The truth is that paint itself is only as good as the surface it's applied to. Paint applied over dirty, peeling, or damp surfaces fails from the inside out, no matter how high-quality the product.
Professional painters routinely spend more time on preparation than on actual painting — sometimes twice as long. That ratio surprises homeowners, but it reflects a straightforward reality: paint adheres to clean, stable, dry surfaces. Anything that compromises those conditions introduces a failure point. Understanding what prep actually involves — and why each step matters — is the most valuable thing you can do before picking up a paintbrush.
Skipping or rushing these steps is also one of those home maintenance habits that costs more later, leading to premature repainting, moisture damage, and in some cases structural wood rot.
Best Practices for Exterior Surface Preparation
Follow these proven steps to give your exterior paint the foundation it needs to hold up through seasons of heat, rain, and temperature swings.
Wash all exterior surfaces thoroughly before doing anything else.
Dirt, mildew, chalking (the powdery residue old paint leaves behind), and pollutants all prevent paint from bonding properly. Paint applied over contamination peels within months. A clean surface is the non-negotiable baseline for everything that follows.
Scrape away all loose, flaking, or peeling paint down to a stable surface.
New paint layered over peeling old paint will lift and peel along with it. Paint adheres to what's underneath it, so if that layer is unstable, the new coat inherits the same instability. Removing loose material is the only way to break that cycle.
Repair damaged wood, fill cracks, and caulk all gaps and joints before priming.
Gaps around trim, windows, and siding joints allow water infiltration, which works behind the paint film and causes blistering, peeling, and eventually rot. Repairing these points before painting seals the building envelope rather than painting over a vulnerability.
Apply a quality primer to all bare wood and repaired areas.
Primer creates the bonding layer between the raw surface and the topcoat. Bare wood is porous and will absorb topcoat unevenly without primer, leading to blotchy coverage and faster weathering. Primed surfaces also accept topcoat more uniformly, which typically means better coverage with fewer coats.
Choose the right weather window for painting and for the drying period that follows.
Paint requires stable conditions to cure properly. Temperatures too low (generally below 50°F) prevent proper film formation; temperatures too high accelerate drying unevenly. Humidity above 85% and rain within 24 to 48 hours of application can ruin an otherwise perfect prep job.
Quick-Start Actions You Can Take This Weekend
You don't have to tackle everything at once. Start with the steps that have the most immediate impact on paint adhesion and moisture control.
Curb appeal matters beyond aesthetics — experienced house buyers notice exterior paint condition as a signal of how well a home has been maintained overall. A well-prepped and properly painted exterior signals care and structural soundness.
Common Mistakes and How to Avoid Them
Even motivated homeowners fall into the same preparation traps. Painting over glossy surfaces without scuff-sanding is one of the most frequent errors — paint simply cannot form a mechanical bond with a slick surface, and adhesion fails within a season. Another common mistake is painting in direct midday sun: heat causes paint to dry too quickly at the surface while remaining wet underneath, trapping vapor and causing blistering.
Ignoring wood moisture content is equally damaging. Wood siding should have a moisture content below 15% before painting, which you can verify with an inexpensive moisture meter available at hardware stores. Painting over wet wood is one of the surest ways to guarantee early peeling. Finally, skimping on primer — especially on bare wood or repaired areas — leaves paint without the bonding layer it needs. Primer isn't optional; it's structural.
Permits Are Rarely Required for Repainting
In most U.S. jurisdictions, repainting an existing exterior surface does not require a building permit. However, if your project involves repairing significant structural wood, replacing siding sections, or your home is in a historic district, local rules may apply. Always check with your local building department if you're uncertain about what's regulated in your area.
The content on this site is for informational purposes only and is not a substitute for professional advice. Always consult a qualified professional for guidance specific to your situation.