

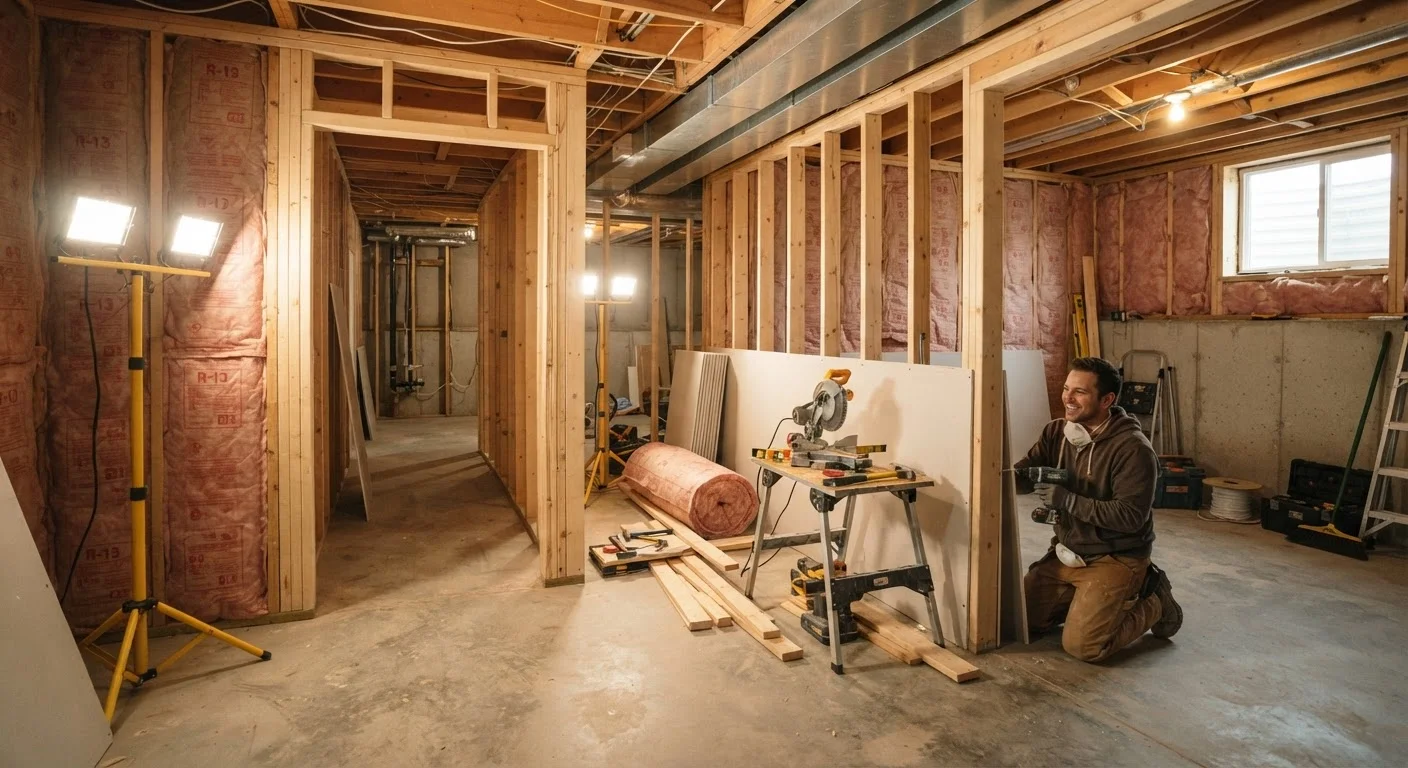
Why Basements Deserve a Different Approach
Finishing a basement is one of the most complex home improvement projects a homeowner can undertake - not because any single step is impossibly hard, but because so many systems converge in one space. Unlike a bathroom remodel or kitchen refresh, a basement finish touches your foundation, your HVAC distribution, your electrical panel, your plumbing stack, and your home's structural skeleton all at once.
Many homeowners underestimate the scope because basements appear simple: a concrete shell waiting to be dressed up. In reality, that shell sits below grade, meaning it behaves differently from every other room in the house. It is subject to ground pressure, hydrostatic water infiltration, and temperature extremes that above-grade spaces rarely experience. The decisions you make early - about moisture, framing methods, and insulation - determine whether your finished basement stays comfortable and dry for decades or requires expensive remediation after a few years.
This guide walks through the full scope of a basement finishing project in the order professionals actually work through it, so you can plan intelligently, hire the right tradespeople, and avoid the most common and costly mistakes. For a parallel look at how hidden systems complicate other renovation categories, see our guide to opening walls.
Moisture Control: The Non-Negotiable First Step
No amount of drywall or flooring will save a basement from a moisture problem that was never addressed. Water intrusion can come from several distinct sources - condensation forming on cold concrete walls, bulk water leaking through cracks, or lateral migration through porous block - and each requires a different remedy. Treating the symptom rather than the source is one of the most expensive renovation myths homeowners fall into. Our companion article on basement moisture sources and fixes explains how to diagnose which type you are dealing with.
Before framing a single wall, the minimum due diligence includes taping plastic sheeting to the concrete and checking for condensation after 24-48 hours, inspecting all visible cracks and penetrations, and verifying that gutters and grading direct water away from the foundation. Any active water entry - visible dampness, efflorescence (white mineral deposits), or modling odors - must be resolved by a qualified waterproofing contractor before work proceeds.
Before starting any basement finish, run a dehumidifier in the space for a full heating season and monitor the collected water volume monthly. This gives you baseline data on how much moisture the space generates - critical for sizing your mechanical ventilation correctly.
Basement humidity levels fluctuate significantly with seasons, and a single spot-check can miss chronic moisture patterns that only show up over time.
Frame basement partition walls on pressure-treated bottom plates, even when the stud above it is standard lumber. The bottom plate is the most vulnerable point for moisture wicking from the slab.
Pressure-treated lumber rated for ground contact resists rot and mold far better than standard dimensional lumber at the concrete interface, extending the life of the framing substantially.
Interior drainage systems, sump pumps, and exterior waterproofing membranes all exist on a spectrum of cost and invasiveness. A qualified waterproofing contractor can help you determine which intervention matches your actual problem rather than defaulting to the most expensive option.
Permits, Codes, and Egress Requirements
Nearly every jurisdiction in the United States requires a building permit to finish a basement. The permit process triggers inspections of framing, electrical rough-in, and mechanical work before walls are closed - which protects you as much as it protects future buyers. Skipping permits is a serious risk: unpermitted work can complicate home sales, void homeowner's insurance claims, and require costly demolition if discovered.
Egress Windows Are a Legal Requirement for Bedrooms
Labeling a basement room a 'bedroom' without a code-compliant egress window is not just a code violation - it is a genuine safety hazard. In a fire, an interior door may be blocked by flames or smoke. Most jurisdictions follow the IRC, which specifies minimum net clear opening dimensions and maximum sill height. Verify your local code requirements with the building department before planning any sleeping space below grade.
One code requirement that surprises many homeowners is the egress window rule. If you intend to call a basement room a bedroom - or if it could realistically be used as sleeping space - the International Residential Code (IRC) and most local codes require at least one egress window that meets minimum opening dimensions. This allows occupants to escape in a fire. An egress window typically requires excavating a window well and cutting through the foundation, which is work for a licensed contractor.
Your local building department is the authoritative source for what is required in your municipality. Before pulling a permit, confirm whether your basement ceiling height meets the code minimum for habitable space (the IRC sets this at 7 feet for the main area), and whether plumbing rough-ins will require a licensed plumber of record.
Framing, Insulation, and Mechanical Systems
Basement walls are typically framed with wood studs set slightly away from the concrete - usually an inch or more - to allow for insulation and to prevent continuous wood-to-concrete contact, which invites moisture wicking and mold. Some contractors prefer metal stud framing for below-grade walls because it does not absorb moisture. Either approach works; the key is the air gap and proper vapor management.
Insulation choices below grade differ from above-grade practice. Rigid foam (extruded or expanded polystyrene) applied directly to concrete walls is often recommended by building scientists because it keeps the concrete wall warm, reducing condensation. Fiberglass batts in stud cavities can also be effective when used correctly with vapor control, but they are more sensitive to moisture. Local climate determines which strategy is appropriate - consult your building inspector or an energy consultant for guidance specific to your region.
Mechanical coordination is the phase most DIYers underestimate. HVAC ducts, plumbing drain lines, and electrical runs through the basement ceiling all need to be planned before framing is complete. Adding a bathroom requires a licensed plumber to tie into the drain system and, in many cases, install an ejector pump (also called a sewage ejector) because basement drains often sit below the main sewer line. Electrical subpanels, circuit additions, and dedicated circuits for appliances require a licensed electrician and permit.
Flooring, Ceilings, and Livability Finishes
Flooring in a basement must tolerate conditions that would damage many above-grade materials. Concrete subfloors are cold, occasionally damp, and prone to minor seasonal movement. Solid hardwood is generally not recommended below grade; engineered hardwood, luxury vinyl plank (LVP), ceramic tile, and sealed concrete are more forgiving options. LVP in particular has become popular for basements because it is waterproof at the plank level, comfortable underfoot with a foam underlayment, and relatively easy to install.
Ceiling strategy is a significant design decision. A dropped or suspended ceiling (sometimes called an acoustic tile ceiling) preserves access to pipes, ducts, and wiring above - a practical advantage in a basement where mechanical systems run overhead. Drywall ceilings give a more finished look but make future access to mechanical systems much harder. Many homeowners opt for a hybrid: drywall in living areas and a suspended ceiling in utility zones.
Lighting deserves special attention because basements have limited or no natural light. Recessed LED fixtures on separate circuits - ideally dimmable - make a basement feel significantly less cave-like. Consider how light placement interacts with dropped soffits that hide ducts, since these are common in basement layouts.
Planning Your Budget and Timeline Realistically
A full basement finish - including moisture remediation, framing, insulation, electrical, HVAC extension, drywall, flooring, and basic finishes - commonly ranges from $25 to $60 or more per square foot depending on region, complexity, and finish level. A bathroom addition, egress window installation, or wet bar each adds cost on top of that baseline. These figures are general reference points; get multiple contractor quotes for your specific project before budgeting.
Timeline expectations matter as much as cost expectations. The permit approval process alone can take two to six weeks in many jurisdictions. Rough-in inspections, drying time for concrete work, and trade scheduling add more. A realistic timeline for a full basement finish in most homes is three to six months from permit application to final walkthrough - not the weekend-warrior timeframe renovation television often implies. For a broader look at how renovation assumptions affect budgets, see our article on home renovation myths that cost homeowners money.
Sequencing matters: waterproofing → permits → rough-in trades (plumbing, electrical, HVAC) → framing and insulation → inspection → drywall → flooring → finish work. Attempting to shortcut this sequence typically creates expensive rework. The basement is one of the few home projects where patience in the planning phase pays back measurably in the finished result.
This article provides general home improvement information for educational purposes. Local building codes, permit requirements, and contractor licensing rules vary by jurisdiction. Always verify requirements with your local building department and consult licensed professionals for electrical, plumbing, structural, and waterproofing work.
The content on this site is for informational purposes only and is not a substitute for professional advice. Always consult a qualified professional for guidance specific to your situation.