

Grout vs. Caulk: What Each One Does
Grout
A rigid, cement-based material used to fill the joints between tiles. It holds tiles in proper alignment and protects the substrate beneath from moisture when intact.
Caulk
A flexible sealant applied where two different surfaces meet, such as a tub and wall. Its elasticity allows it to absorb movement without cracking.
Grout sealer
A liquid product applied over cured grout to reduce water and stain absorption. Penetrating sealers soak into the grout pores rather than forming a surface film.
Substrate
The structural surface beneath tile — typically cement board, greenboard, or a mortar bed. Substrate damage from water intrusion is a sign that repairs go beyond the tile surface.
Siliconized latex caulk
A hybrid caulk formulation combining latex's paintability and ease of cleanup with silicone's flexibility and moisture resistance. Commonly used in bathroom wet areas.
Change of plane
Any location where two surfaces meet at an angle, such as a wall-to-floor joint or a tub-to-wall corner. These areas require flexible caulk, not rigid grout.
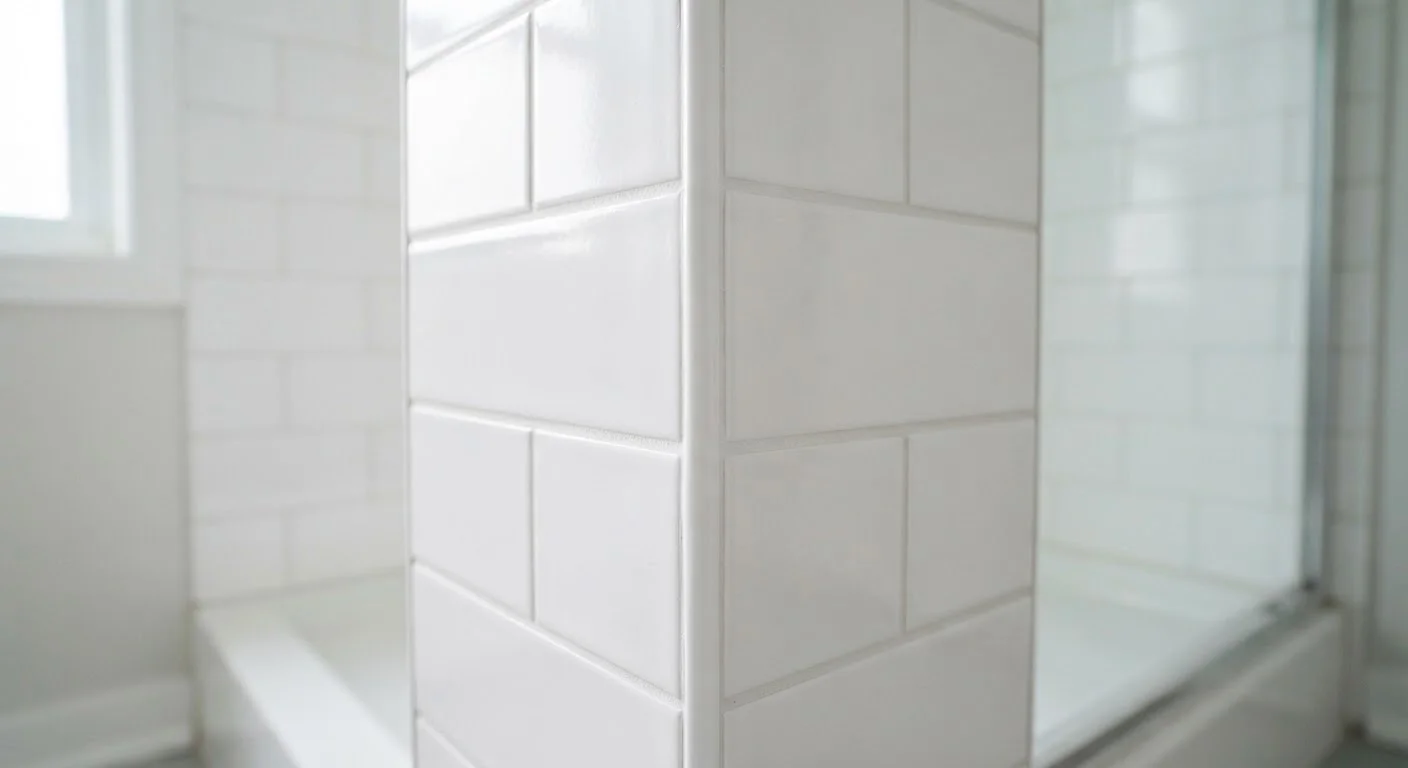
Grout and caulk are both used in tiled bathrooms, but they serve different purposes and fail in different ways. Grout is a rigid, cement-based filler used between tiles on flat surfaces like floors and walls. Caulk is a flexible sealant applied wherever two surfaces meet at a change of plane — think where the tub meets the tile, where the wall meets the floor, or around a toilet base.
That flexibility distinction matters. Corners and joints experience constant movement from temperature shifts, humidity, and ordinary house settling. Grout cannot flex and will crack under that stress; caulk is engineered to absorb it. Using the wrong material in the wrong spot is one of the most common bathroom maintenance mistakes homeowners make. For a broader look at where caulk fits into home sealing decisions, see our guide to caulking vs. weatherstripping.
Signs That Grout or Caulk Needs Attention
| Grout material type | Cement-based (rigid) |
| Caulk material type | Silicone or latex-based (flexible) |
| Correct location for grout | Between tiles on flat planes |
| Correct location for caulk | Corners, joints, and changes of plane |
| Recommended recaulking interval | Every 5–10 years (or sooner if failure appears) |
| Grout sealer reapplication | Every 1–2 years in wet areas |
| Grout cure time before moisture exposure | Typically 24–72 hours (varies by product) |
| Primary failure risk | Water intrusion behind tile and wall substrate |
The earlier you catch deterioration, the simpler the fix. Here's what to look for during a routine bathroom check:
- Cracked or crumbling grout: Grout that chips away when pressed or shows visible fractures is no longer sealing the tile joint. Water can work behind the wall surface.
- Discoloration that won't clean: Persistent dark staining — especially black or green — often signals mold or mildew growth inside the joint, not just surface grime.
- Shrinking or gapping caulk: A caulk bead that has pulled away from the tile or tub surface leaves an open channel for water intrusion.
- Soft or spongy caulk: Healthy caulk is firm yet pliable. Caulk that feels mushy or tears easily has broken down and should be replaced.
- Stained grout with no mold present: Iron deposits from well water or mineral buildup can stain grout without indicating structural failure, though the joint still warrants inspection.
Catching these signs early is precisely the kind of routine task covered in common maintenance tasks homeowners skip — and what happens when they don't.
What Each Repair Typically Involves
Regrouting a Tile Joint
Regrouting starts with removing the failed grout using a grout saw or oscillating tool — a step that requires care to avoid chipping adjacent tiles. Once the joint is cleared and cleaned, new grout is mixed to manufacturer specifications and worked into the joint with a rubber float. After a short cure window, excess is wiped away with a damp sponge. Full cure time before exposing the area to moisture varies by product type but is typically at least 24–72 hours.
Recaulking a Seam
Old caulk must be completely removed before new caulk is applied — applying new caulk over old is a common shortcut that leads to early failure. A utility knife, caulk remover tool, and mineral spirits help clear the old bead and clean the substrate. The surface must be fully dry before new caulk is applied. For bathroom wet areas, a mold-resistant silicone or siliconized latex caulk is generally appropriate. A smooth, continuous bead tooled with a wet finger or plastic tool and left to cure per product instructions will perform far longer than a rushed application.
When to Call a Professional
If grout or caulk failure has been present for an extended period, check for soft drywall, discolored substrate, or tiles that shift when pressed — any of these suggest water has already penetrated. Repairs at that point likely involve more than surface materials and warrant a licensed tile contractor or remodeling professional. Water damage behind walls can escalate quickly, as outlined in our home maintenance guide for first-time owners.
Preventive Maintenance Schedule
Staying ahead of grout and caulk failure doesn't require significant time — just consistency. Consider the following general schedule:
- Monthly: Wipe down tile joints during routine cleaning. Note any new cracks, staining, or gaps.
- Every 6 months: Inspect all caulk lines in showers, tubs, and around the toilet base. Press lightly to check firmness.
- Every 1–2 years: Apply a penetrating grout sealer to unsealed or previously sealed grout in wet areas. Sealer reduces moisture absorption and slows staining.
- Every 5–10 years (or as needed): Recaulk high-movement joints such as tub-to-tile seams, even if no visible failure is present, as a precautionary measure.
Building these checks into a broader home care routine is straightforward. Our annual home maintenance calendar provides a season-by-season framework that includes bathroom checks alongside other upkeep priorities.
The content on this site is for informational purposes only and is not a substitute for professional advice. Always consult a qualified professional for guidance specific to your situation.