

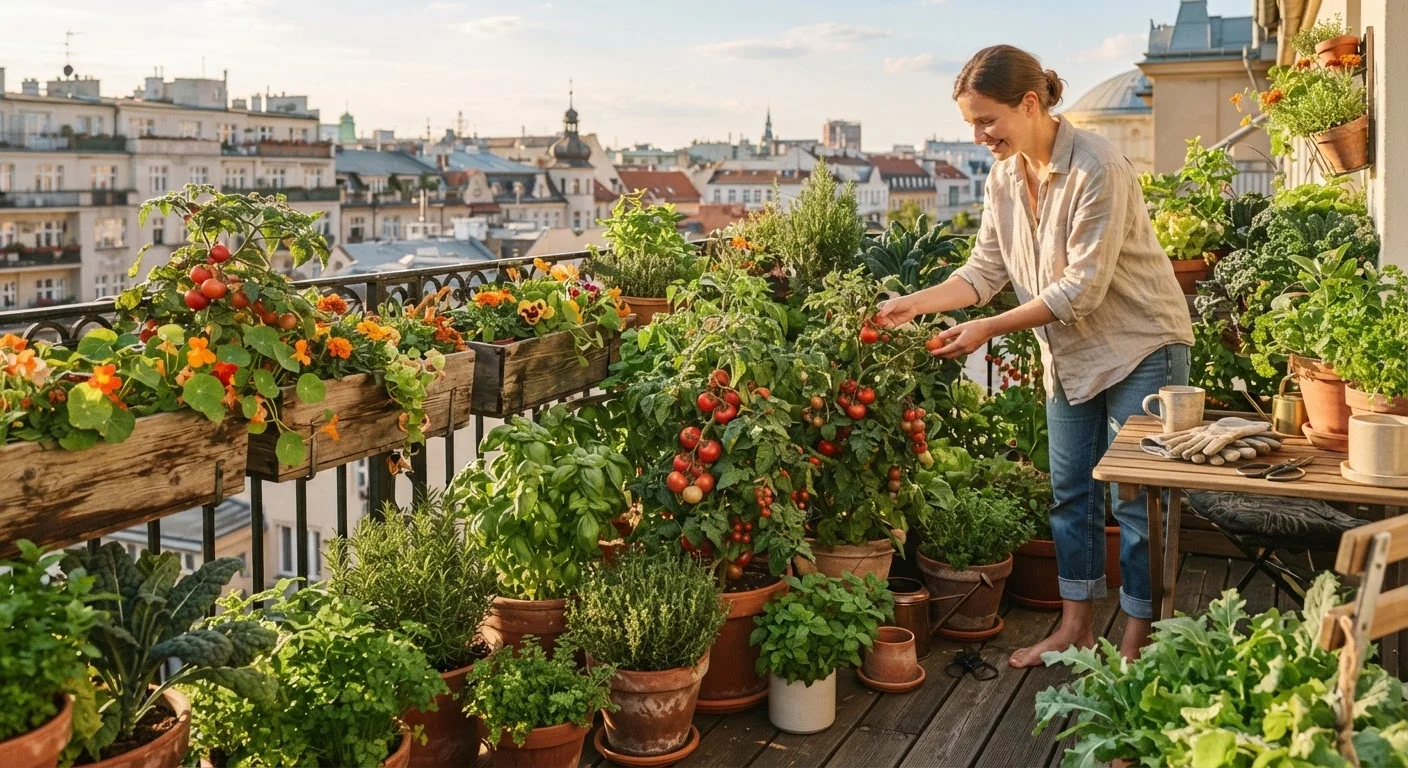
Why Small-Space Food Growing Works
The idea that meaningful food production requires a large backyard is one of gardening's most persistent myths. Millions of gardeners grow tomatoes on apartment balconies, salad greens on windowsills, and full herb gardens in a strip of soil barely 18 inches wide. The key isn't square footage - it's thoughtful system design.
Small growing spaces actually offer some real advantages. They're easier to monitor closely, simpler to water and feed consistently, and faster to prepare each season. Pest and disease problems are easier to catch early when you're working in a compact area. And because every square inch is intentional, you tend to choose crops you genuinely want to eat.
Whether you're working with a balcony, a patio, a narrow side yard, or a single raised bed, the principles below apply. For readers with more space considering different bed formats, our comparison of raised beds and in-ground planting explores the broader trade-offs worth weighing.
What you will need
Choosing the Right Setup for Your Space
Before selecting seeds or soil, take an honest inventory of what you're working with. Note how many hours of direct sunlight your space receives - most fruiting crops (tomatoes, peppers, squash) need at least six hours, while leafy greens and herbs tolerate three to four. Measure your available floor or ground area, and assess weight limits if you're on a balcony or rooftop; large containers filled with moist soil can be surprisingly heavy.
Container Gardens
Containers are the most flexible option. They can be moved to follow sunlight, rearranged seasonally, and brought indoors to extend the growing season. For food crops, container depth matters as much as diameter: leafy greens need at least 6-8 inches, herbs 6 inches, and deeper-rooted crops like tomatoes and carrots require 12-18 inches. Always choose containers with drainage holes - waterlogged roots are a leading cause of container plant failure.
Balcony and Patio Layouts
On a balcony, think vertically as well as horizontally. Wall-mounted planters, tiered shelving, and hanging baskets can triple your effective growing area. Group containers by water needs to simplify maintenance. Lightweight potting mixes (rather than dense garden soil) keep overall weight manageable without sacrificing plant performance.
Narrow Raised Beds
A bed no wider than 3-4 feet lets you reach the center from either side without stepping on the soil - preserving the loose, aerated structure that roots depend on. Even a bed just 8 feet long and 3 feet wide gives you 24 square feet of productive growing area, enough for a rotating mix of salad crops, herbs, and compact fruiting plants. Our beginner vegetable garden guide offers helpful guidance on choosing a location and planning your first layout.
Step-by-Step: Setting Up Your Small-Space Food Garden
The steps below apply whether you're starting with a single container or a narrow bed. Work through them in order - each decision informs the next.
Assess sunlight and structural constraints
Track sunlight across your space for a full day, noting how many hours of direct sun each area receives. Mark the sunniest zones for fruiting crops and shadier spots for leafy greens. If you're on a balcony, check your building's weight guidelines or consult your landlord before placing heavy containers or beds.
Select your growing format and containers
Choose containers, beds, or a combination based on your space. For balconies, prioritize lightweight pots, vertical wall planters, and tiered shelves. For narrow ground areas, build or purchase a raised bed no wider than 4 feet. Confirm that all containers have adequate drainage holes before filling them.
Fill with appropriate growing medium
Use a quality all-purpose potting mix for containers - not garden soil, which compacts in pots and restricts root growth. For raised beds, a blend of topsoil, compost, and coarse perlite or aged bark fines creates good drainage and fertility. Fill containers to about 1 inch below the rim to allow for watering without overflow.
Choose compact crop varieties
Look for seed packet descriptors like "dwarf," "patio," "bush," or "compact" - these varieties are bred to produce well with limited root and canopy space. Reliable small-space crops include cherry tomatoes, bush beans, leaf lettuce, Swiss chard, radishes, kale, basil, chives, and compact pepper varieties. Avoid sprawling indeterminate tomatoes or large vine crops unless you have sturdy vertical supports.
Install vertical supports before planting
If you plan to grow climbing crops - beans, cucumbers, compact peas - set up trellises, cages, or stakes before placing transplants. This avoids disturbing roots later and ensures the structure is firmly anchored. Wall-mounted trellis panels work well on balconies; simple bamboo teepees or wire cages suit raised beds.
Establish a watering and feeding routine
Water containers when the top 1-2 inches of soil feel dry, watering deeply until liquid drains from the bottom. During warm months this may mean daily watering. Feed plants every two to three weeks with a balanced liquid fertilizer once they're actively growing. Narrow raised beds retain moisture better than pots but still benefit from mulching the surface to reduce evaporation.
Once your garden is established, enriching the soil between seasons becomes especially important in compact systems. Composting kitchen scraps is an excellent way to feed container and bed soil naturally without relying solely on purchased amendments.
Common Pitfalls and How to Avoid Them
Even well-planned small gardens run into predictable problems. Overcrowding is the most common: it's tempting to pack in as many plants as possible, but crowded roots compete for water and nutrients, and dense foliage invites fungal disease. Follow spacing recommendations even when the young seedlings look small.
Container gardens also dry out significantly faster than ground beds, especially in warm weather or windy balcony conditions. Check soil moisture daily during summer - stick a finger 1-2 inches into the mix; if it's dry at that depth, water thoroughly until it drains from the bottom. A saucer under the container can catch runoff but should be emptied after an hour to prevent root rot.
Finally, don't neglect nutrients. Regular potting mix loses fertility within a few weeks once plants are actively growing. A balanced, slow-release granular fertilizer worked into the soil at planting, supplemented with a diluted liquid feed every two to three weeks, keeps productivity high throughout the season.
Maximize Yield With Succession Planting
Rather than planting everything at once, sow fast-maturing crops like lettuce, radishes, and arugula in small batches every two to three weeks. As one batch matures and is harvested, the next is already underway. This simple technique keeps your compact garden productive throughout the season rather than delivering a single overwhelming flush of produce.
For gardeners interested in mixing food plants with longer-lived ornamentals, our article on perennials versus annuals explains how to layer both plant types for a space that produces year after year.
The content on this site is for informational purposes only and is not a substitute for professional advice. Always consult a qualified professional for guidance specific to your situation.