

Why Gutters Matter More Than Most Homeowners Realize
Gutters exist for one critical reason: to move rainwater away from your home's roof, walls, and foundation. When they work properly, they're invisible. When they fail, the consequences are expensive and sometimes structural. Overflowing or misdirected water can erode soil around your foundation, seep into basements, rot fascia boards, and create conditions for mold. For more on how water intrusion connects to dampness below grade, see our guide to diagnosing basement moisture.
Gutter neglect is also one of the home maintenance tasks most commonly deferred - and one of the costliest to recover from. Our overview of routinely skipped maintenance covers what that delay typically leads to in practical terms.
What you will need
What You'll Need Before You Start
Gather your tools and review safety basics before climbing a ladder. Most gutter cleaning jobs require only a few common items, but working at height demands respect for the risks involved.
Extension ladder
Provides safe, stable access to gutters along the roofline.
Gutter scoop or garden trowel
Removes compacted wet leaves and debris without damaging the gutter channel.
Garden hose with spray nozzle
Flushes remaining debris toward the downspout and tests water flow.
Bucket or tarp
Collects debris as you work, reducing ground cleanup afterward.
Wet/dry vacuum with gutter attachment
Efficiently removes dry leaf debris, especially useful in fall cleanings.
Plumber's snake or drain auger
Clears stubborn blockages inside downspouts that a hose cannot dislodge.
Gutter sealant (waterproof)
Fills small cracks or holes discovered during inspection.
Ladder Safety Is Non-Negotiable
Falls from ladders are a leading cause of home injury. Never work on gutters alone - always have a spotter at the base. Avoid working on wet or icy surfaces, and never lean out past your ladder's rails. If your roofline is particularly steep, high, or requires working near power lines, hire a professional rather than attempting the work yourself.
Step-by-Step: Cleaning and Inspecting Your Gutters
Follow these steps in order. Inspection happens alongside cleaning - you're not just removing debris, you're evaluating the system's condition at the same time.
Set up your ladder safely
Position your extension ladder on firm, level ground. Never lean it against the gutter itself - this can bend or dislodge the gutter channel. Use a ladder standoff (also called a ladder stabilizer) to rest against the roof edge or fascia instead. Have your spotter hold the base while you work.
Remove debris by hand or scoop
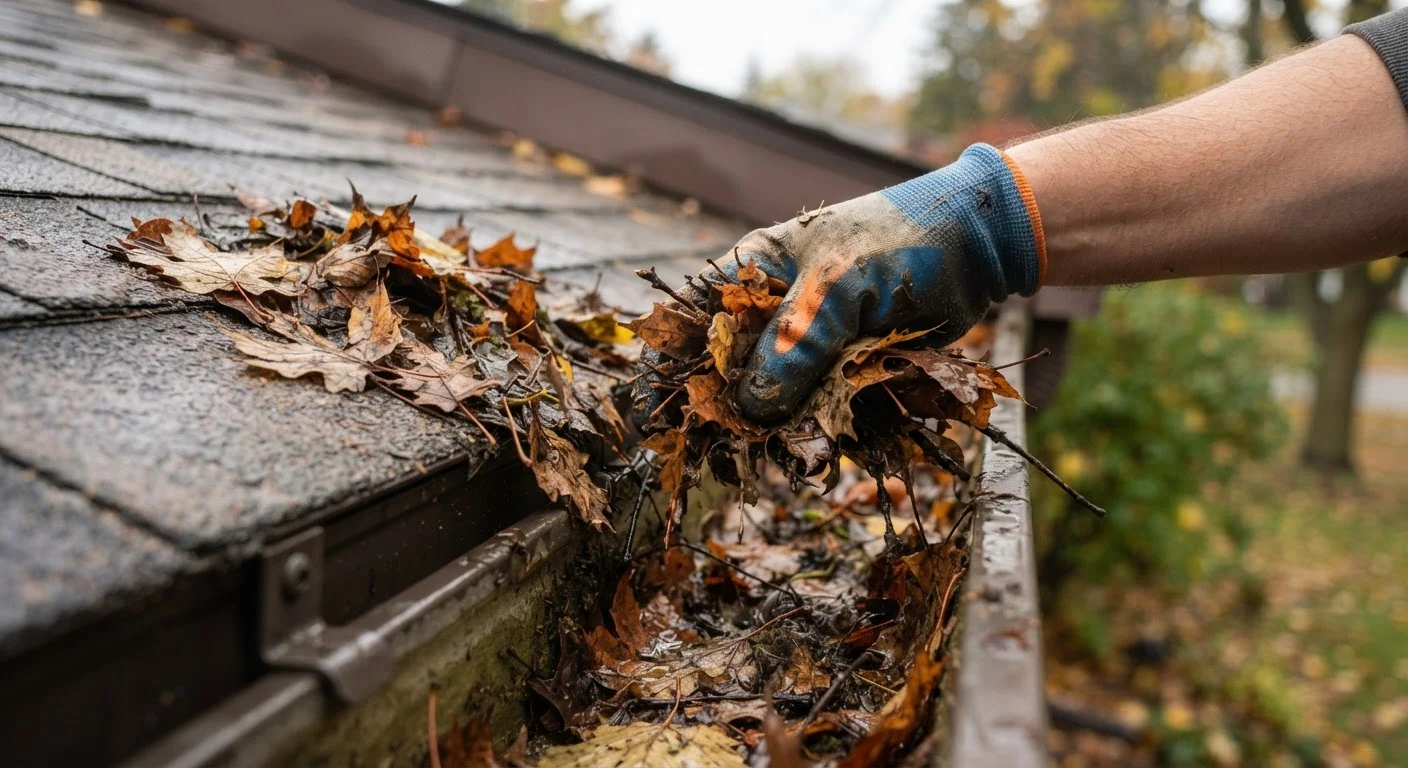
Starting near a downspout, use your gloved hands or a gutter scoop to remove leaves, twigs, shingle grit, and compacted debris. Place material into a bucket hung from the ladder or drop it onto a tarp below. Work away from the downspout opening so debris doesn't fall in.
Flush the gutter channel with a hose
Once the bulk of debris is removed, run water from your garden hose starting at the end farthest from the downspout. Watch the water flow toward the outlet. It should move steadily without pooling. Pooling indicates either a clog ahead or an incorrect slope (gutters should pitch roughly 1/4 inch per 10 feet toward the downspout).
Clear the downspout
Insert your hose into the top of the downspout and run water at full pressure. If it drains freely, you're clear. If water backs up, use a plumber's snake or downspout auger to break up the clog from the top, then flush again. Downspout clogs are extremely common and are often the actual cause of gutter overflow.
Inspect for physical damage
While you're at ladder height, look closely at the gutter system. Check for:
- Rust spots, holes, or cracks in the channel
- Loose or missing hanger brackets
- Gaps at seams or joints
- Separation between the gutter back and the fascia board
- Soft or discolored fascia wood, which can indicate water has been wicking behind the gutter
Small holes can be cleaned, dried, and filled with waterproof gutter sealant. Larger damage or structural separation needs a professional evaluation.
Check from the ground after rain
Your final verification happens during the next rainfall. Stand back and watch the gutters in action. Water should flow smoothly toward downspouts with no overflow at the sides or ends, no dripping from joints, and no water cascading over the lip at any point. This real-world test confirms that your cleaning and any repairs were effective.
Knowing When Gutters Have Failed - and What to Do
Cleaning alone won't fix gutters that are structurally compromised. Watch for these failure signs during and after cleaning:
- Sagging or pulling away from the fascia: Indicates failed hangers or rotted fascia board underneath. Hangers can sometimes be replaced; rotted fascia typically requires a carpenter.
- Visible rust, holes, or cracks: Small holes can be patched with gutter sealant, but widespread rust signals the section needs replacing.
- Peeling paint or staining on exterior walls: A sign that water has been overflowing for some time, likely due to a persistent clog or incorrect slope.
- Pooling water near the foundation: Often caused by downspouts that are too short or discharge too close to the house. Extensions are inexpensive and easy to add.
- Water stains inside on ceilings or upper walls: While these can have multiple causes, damaged gutters are a common contributor. Check our guide to roof warning signs to rule out a roofing source as well.
If you identify damage that goes beyond patching - sections pulling away, significant rust, or fascia rot - consult a licensed gutter or general contractor for assessment. Permits are not typically required for gutter replacement, but verify local requirements before any structural repairs.
The content on this site is for informational purposes only and is not a substitute for professional advice. Always consult a qualified professional for guidance specific to your situation.